To configure this interface, the following pre-requisites are required:
Note!
This topic does not cover the initial setup of Idealpos Online - Refer to the Idealpos Online topic and/or Idealpos/your Reseller.
In addition, the initial configuration of Idealpos Restaurant is not outlined in this topic - Refer to the Restaurant & Table Map topic for more information.
To use the Now Book It interface, it must be enabled in the Licence Gateway for each POS Terminal and Back Office that will utilise this interface.
Contact Idealpos or your Idealpos Reseller to purchase this module.
Once the module has been enabled, go to:
Back Office > Setup > Licence Gateway > Reload.
The Now Book It module should appear as shown in the example below:
Go to: https://online.idealpos.com.au
Login using your Email/Password
Once logged in, click on the Settings option on the bottom-left corner > Subscriptions > Select the Subscription.
Select the "Reservation" tab > "Add Reservation +".
The "Add Reservation" option will appear.
The Add Reservation window requires the entry of an API Key; to obtain an API Key, complete the below process:
Copy the "Location ID" shown in your "Add Reservation" window in Idealpos Online (do not copy the Location ID shown in the screenshot example).
Click on this link to open a Now Book It online form and supply them with the details of the Venue that requires the Now Book It Interface.
When completing the online form, ensure that the Venue's details are supplied (Venue Name, Address, Contact Email Address/Phone Number), together with the following:
Press the "Submit" button at the bottom of the online form once the above details have been entered.
Now Book It will also require the authorisation of the integration fee for the above process to be completed.
Once Now Book It perform the required configuration on their end, they will supply the API Key which can be used to configure the integration below.
In the Idealpos Online "Add Reservation" window, configure the following fields:
Press "Submit" once these fields have been configured.
The Reservation Settings tab will show an entry for the Now Book It Reservation Interface
A Deposit Tender Type will need to be setup for recording Deposits that are placed via Now Book It.
When a Customer places a Reservation and pays a Deposit, the Deposit amount will be deducted from the total balance when the customer makes their final payment at the POS.
Go to: Back Office > Setup > Function Descriptors > Locate the next unused Tender (unused Tenders will show as Tender #, with # being the number of the Tender) > Modify.
Configure any other options as required.
Statuses set by User-Defined Status buttons (e.g. Drinks Served, Entree Served, Main Served, Dessert Served) are sent to Now Book It.
These may need to be adjusted as required.
Go to: Back Office > Setup > Global Options > Restaurant > User-Defined Table Status Buttons.
Configure or Adjust as necessary.
Tables/Floor Plans are configured in Now Book It as well as in Idealpos.
So that Reservations are correctly seated/assigned to the correct Tables, ensure that the Tables that are configured in Idealpos match Tables in Now Book It.
To configure Tables in Now Book It, login to: https://restaurant.nowbookit.com
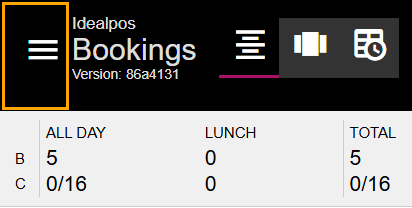
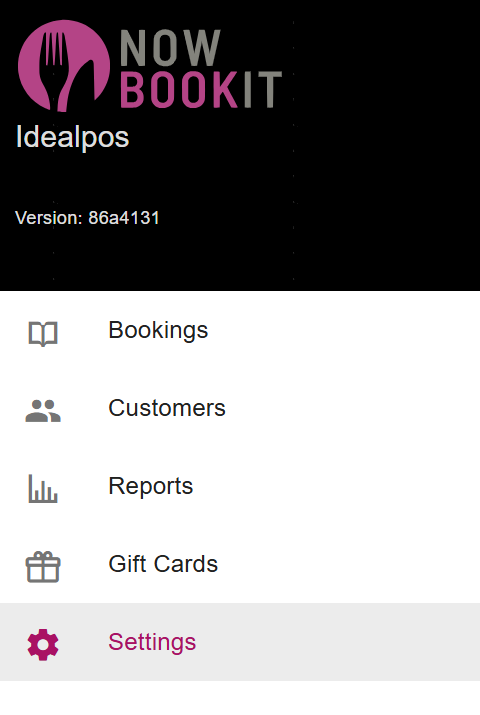
Within the Now Book It website, press the menu on the top-left corner > Settings.
The options "Layouts" and "Floor Plans" in the Settings menu enable the configuration of Tables in Now Book It.
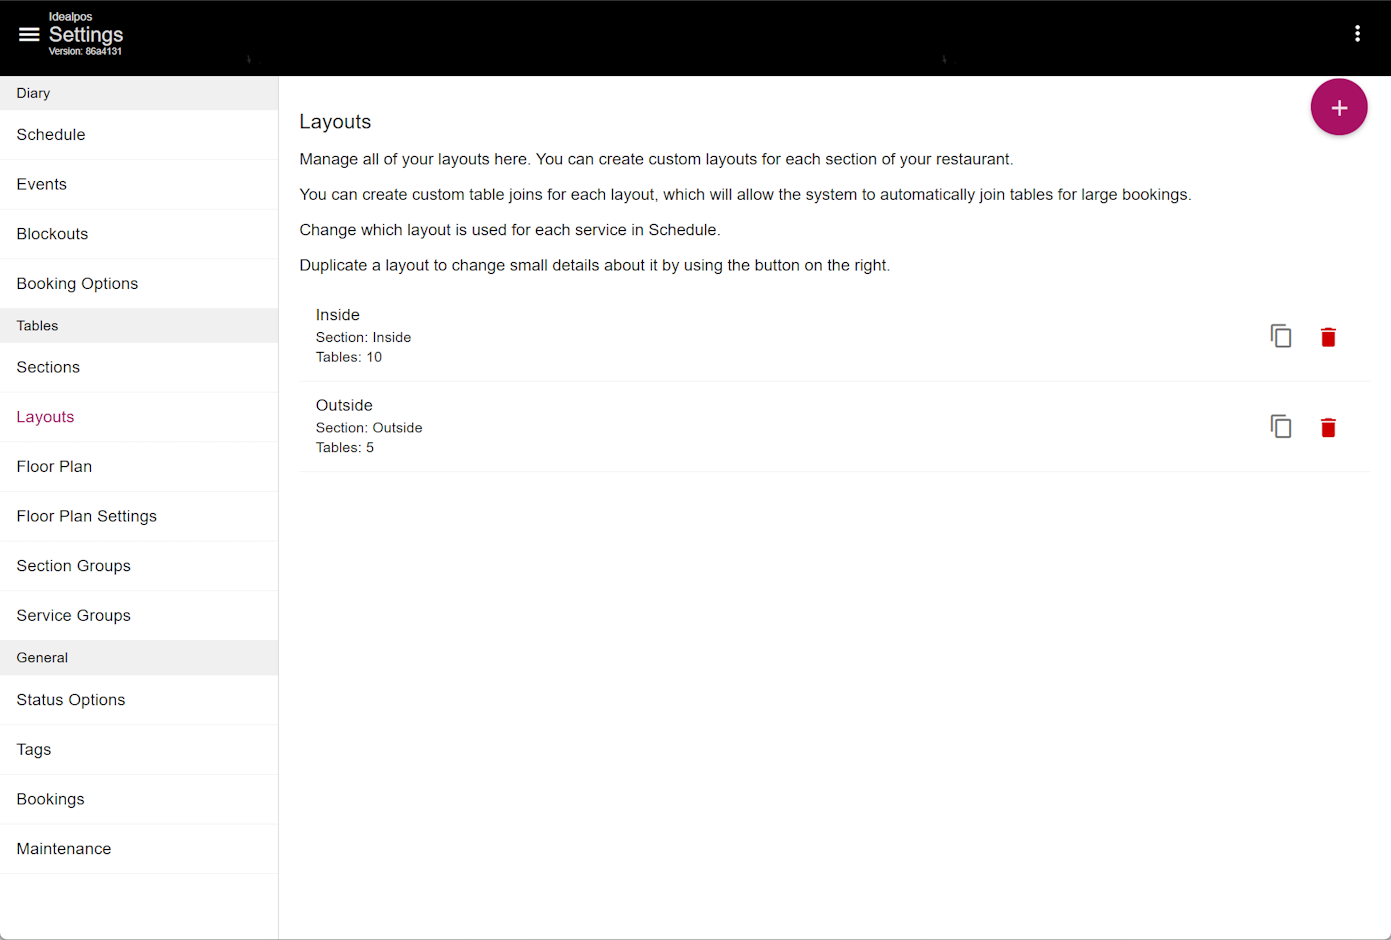
Layouts
When selecting the Layouts option, each Section will be represented as a separate option.
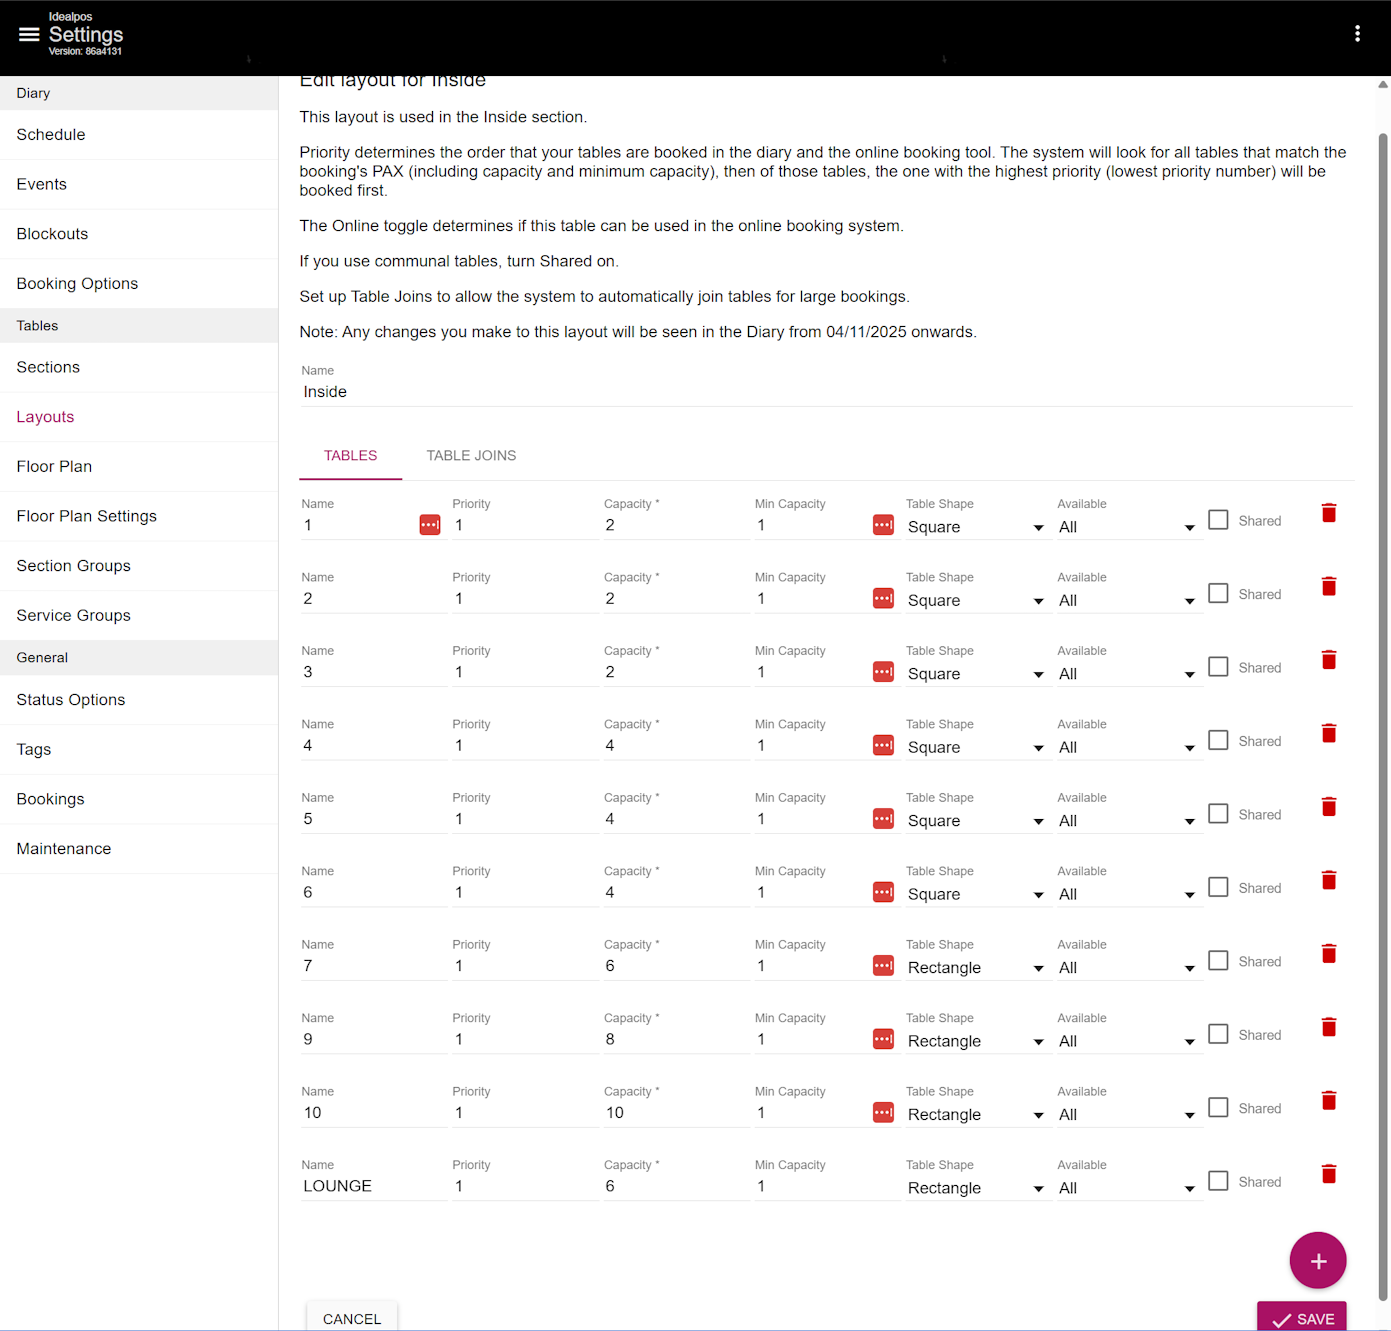
Selecting a Section will display the Tables within the Section.
Tables can be deleted by pressing the red bin icon on the right-side of the table.
Tables can be added by pressing the "+" button on the bottom-right corner.
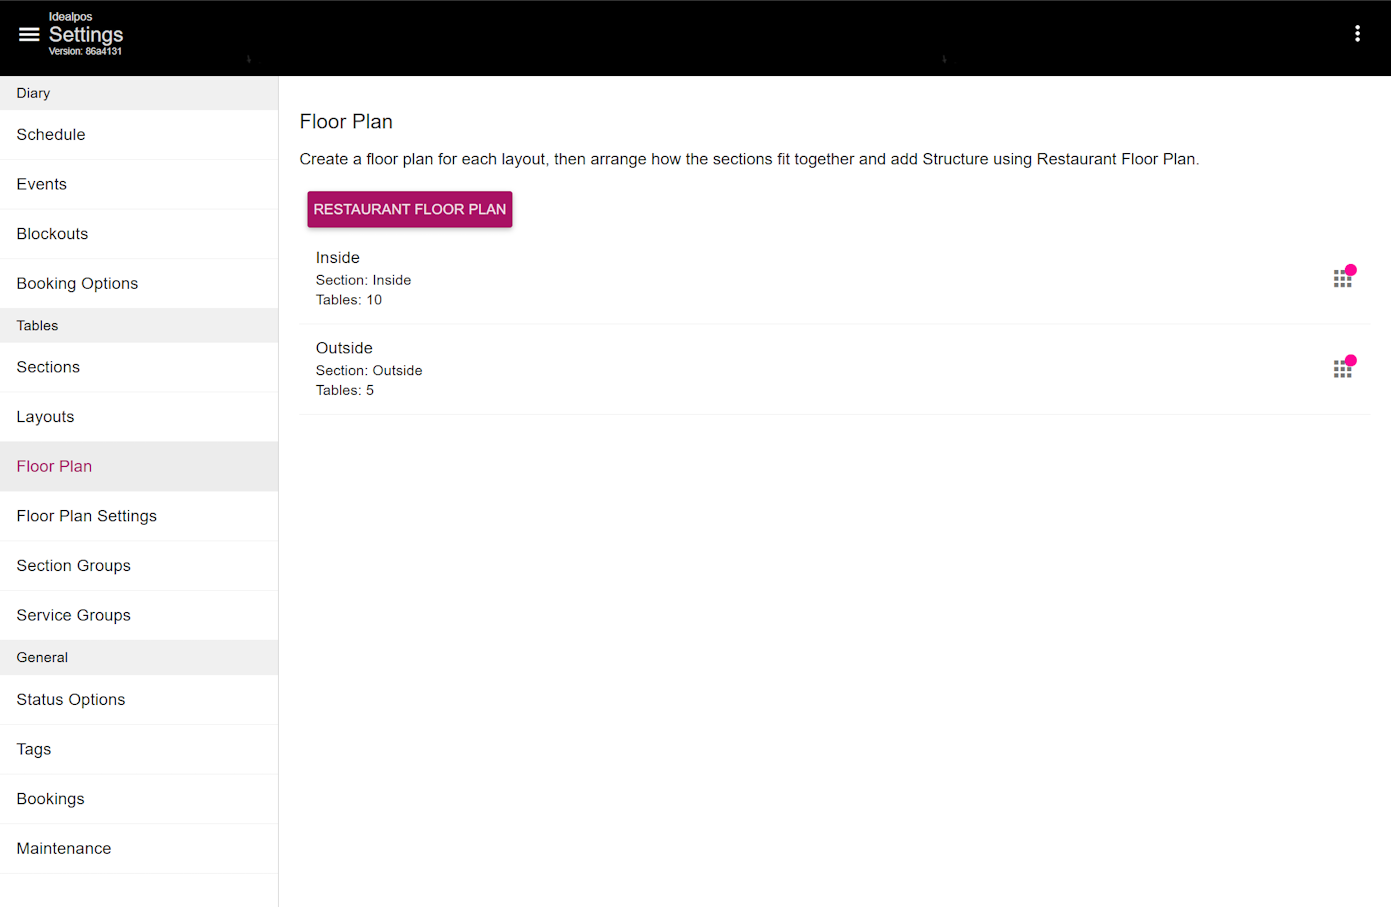
Floor Plan
When selecting the Floor Plan option, each Section will be represented as a separate option.
Selecting the "RESTAURANT FLOOR PLAN" will show an overview of all the sections, or selecting one of the Sections will enable the Floor Plan for the section to be modified.
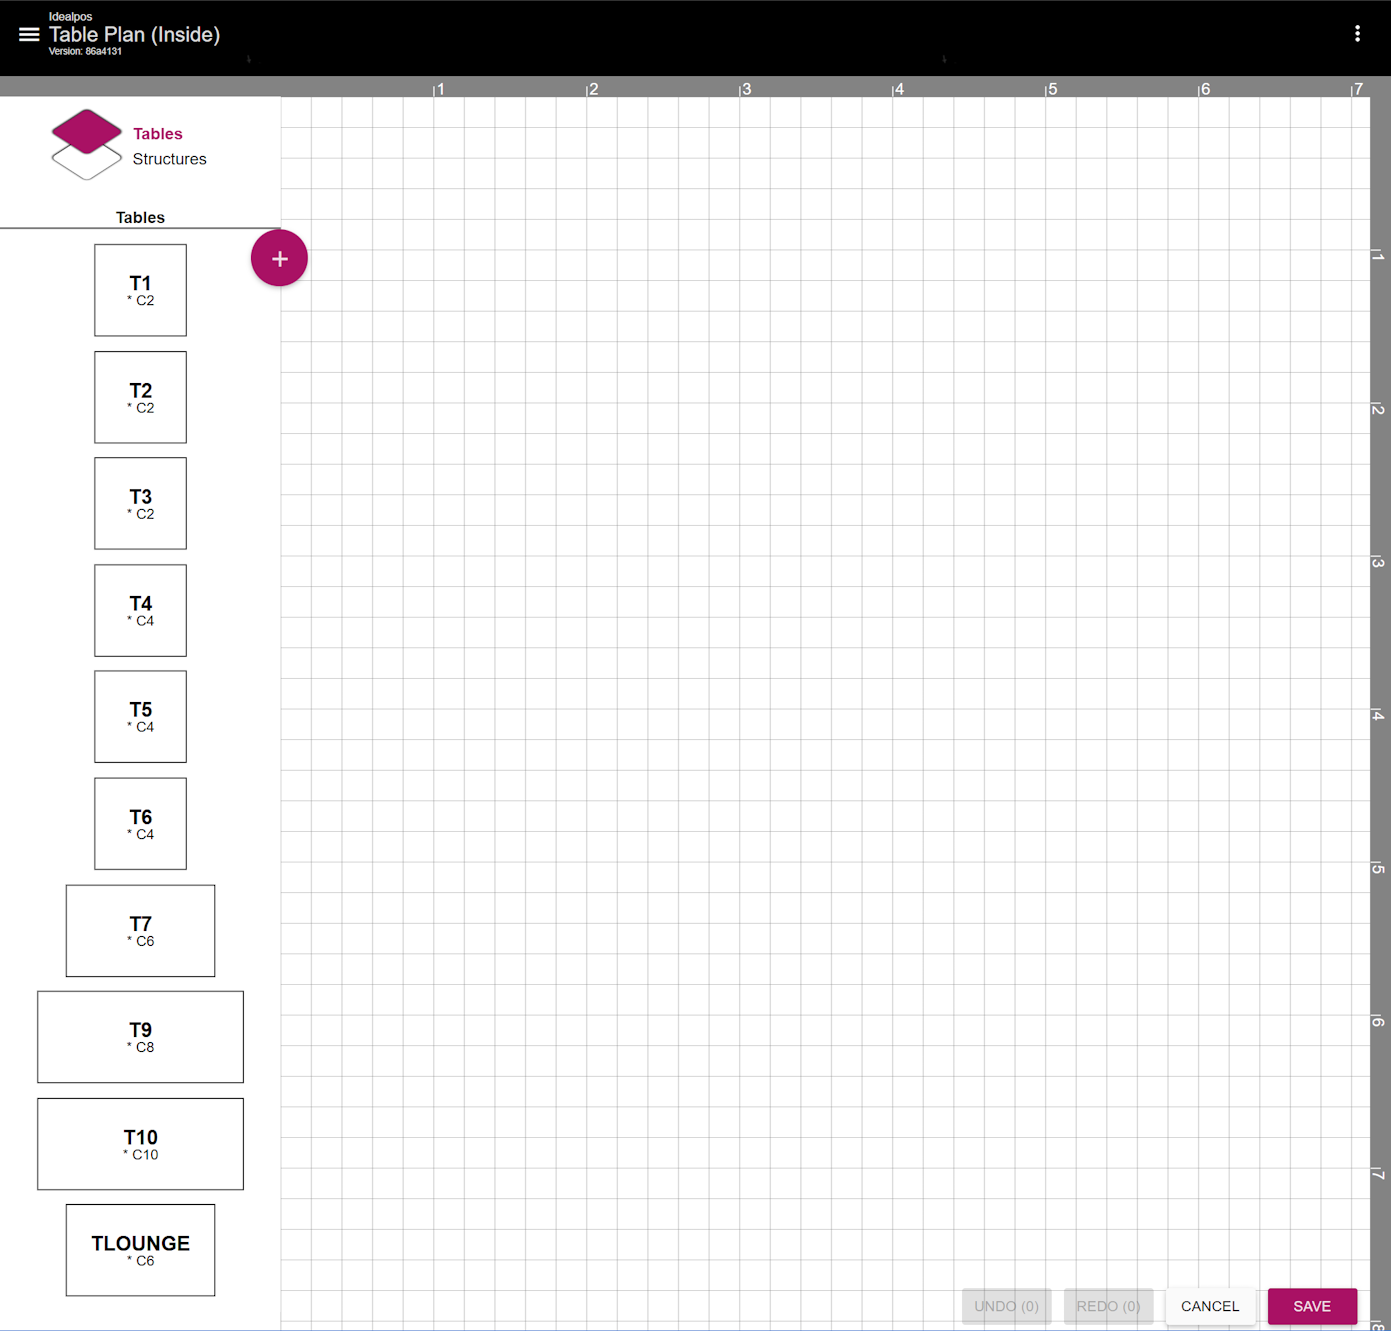
Selecting a Section from the main Floor Plan page will enable that section's Floor Plan to be modified (select the section from the page which contains the RESTAURANT FLOOR PLAN button) outlined further above.
Tables/Structures will appear on the top-left corner:
Select Tables to display a list of tables on the left; drag the table to the right hand side to position it in the required location.
Select Structures to display a list of structures on the left (Structures include Wall, Window, Left Door, Double Door, Text within rectangle/circle, Text)
Once the Floor Plan has been configured as required, press the "Save" button on the bottom-right corner of the window.
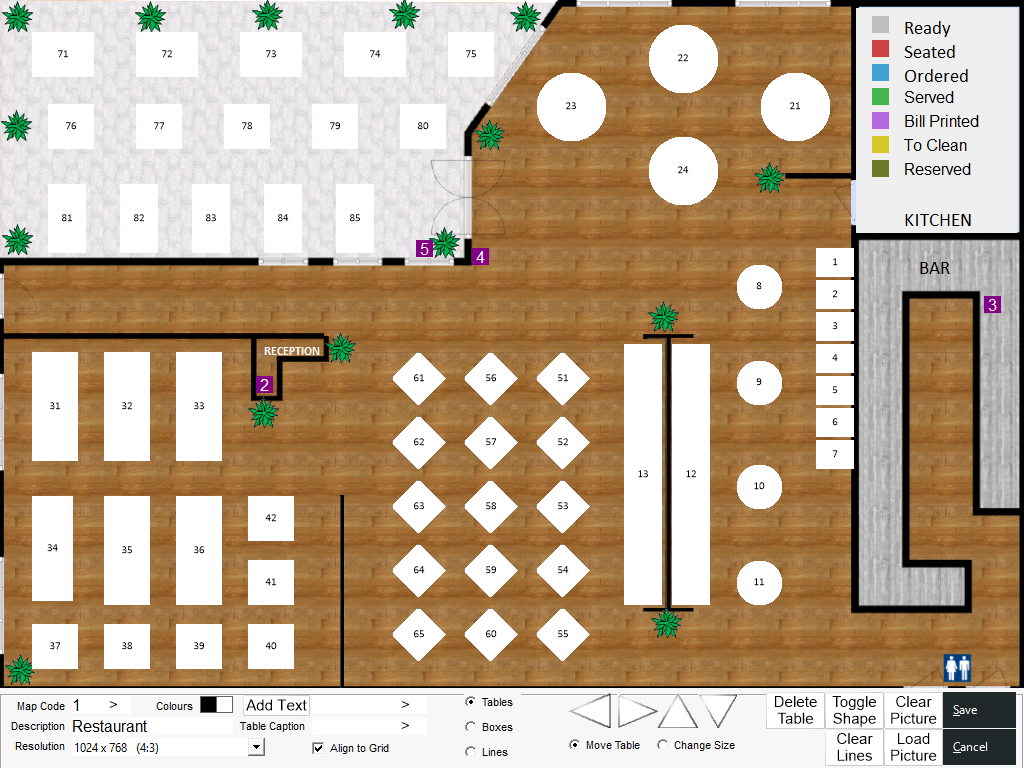
In Idealpos, Tables can be configured in Back Office > Setup > Restaurant > Table Maps > Add/Modify.